Benutzer-Werkzeuge
Dies ist eine alte Version des Dokuments!
Inhaltsverzeichnis
PR430 or RPC with KISS-Interface
Overview
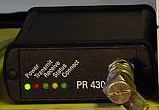
PR430
The PR430 transceiver is a data transceiver originally designed as a radio for 9600 baud Packet Radio. There is an alternative firmware available to transfer the hardware into a POCSAG transmitter.
More information on the Software and Hardware of the PR430 is collected here.
The firmware Version 57 can be downloaded here.
C9000
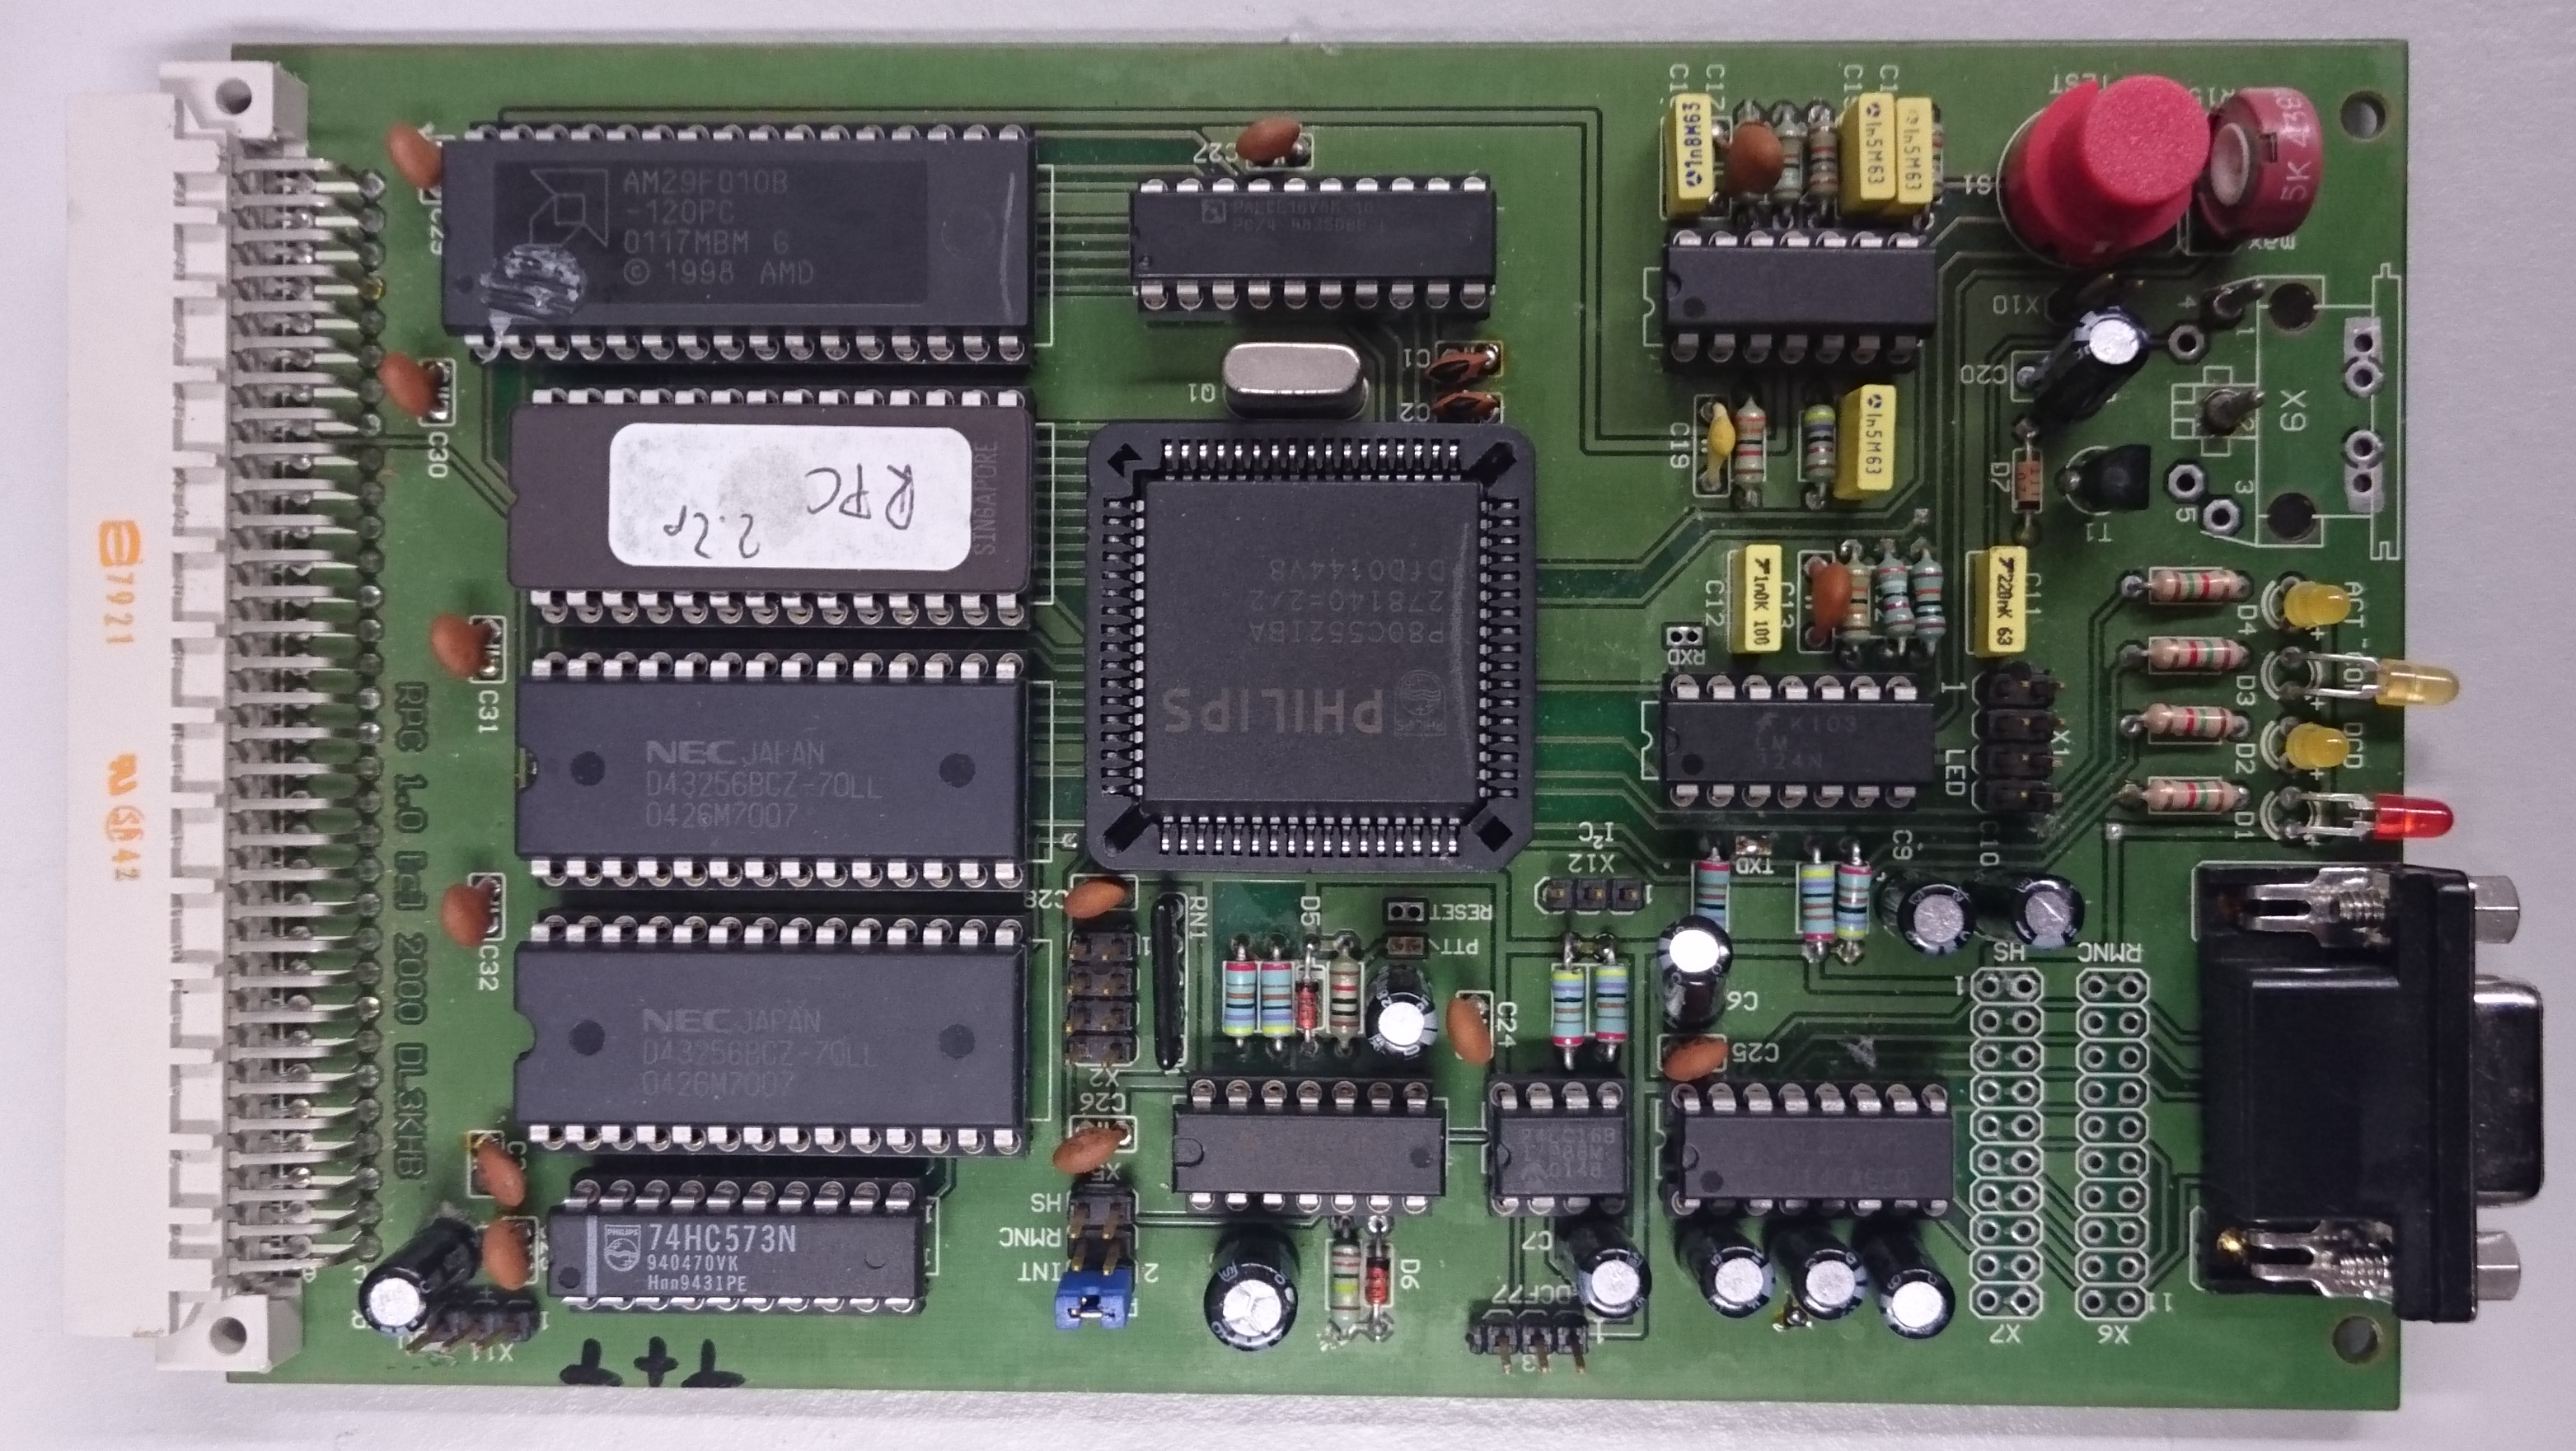
For the Ericsson C9000 transmitters there where sereval additional PCBs available to interface between AX.25 Packet Radio on a KISS link and the radio part of the transmitter.
For the C9000 we stongly encourage the modification described here, as it makes everything much more easier and flexible. But nevertheless, this manual is also working on C9000s. For the PR430, there is no other way known than taking this multi-hop approach written below:
To connect PR430 transceivers or transmitters with an RPC Card, there are two possible ways.
- Connection via IGATE (look here for more information). A stable connection to the AX.25 Packet Radio Network is required.
- Without any connection to the AX.25 Packet Radio Network by running all conversion software on a local machine (e.g. Raspberry Pi)
The second approach is described below.
General Dataflow
As there are more than two decades between the PR430 Software and the DAPNET development, some nasty strings have to be pulled to make it work. The following figure shows the flow of data an all software involved.
The software used in this setup is:
- ax25-tools
- libax25
- ax25-apps
- Java
- Maven
- DAPNET-Proxy
- xinet-Daemon
Installation and Setup
We assume a transmitter callsign of DB0ABC-7 written in the config of your PR430 or RPC. Adapt the commands below as needed to match your situation.
The following steps are needed to get your setup running like in the figure above.
Register your transmitter on the DAPNET
Have a look here What to do if I want to add a transmitter?
Setup a Raspberry Pi with default Raspbian OS
Look on google how to do that. A good choice is https://www.raspberrypi.org/downloads/raspbian/ and the lite version. No graphic interface is needed.
Setup Network connectivity
Either on HAMNET or with normal internet access setup you network device on the Raspberry Pi.
Connect your PR430
Using a Serial-to-USB adapter, connect your PR430 or RPC to your Raspberry Pi. The serial interface generated by your Serial2USB adapter is assumed to be /dev/ttyUSB0 in the following description. You can check this by having a look in /var/log/syslog or with
ls -l /dev/ttyUSB0
Your adapter should appear there.
Install AX.25 software
Install the AX.25 software with
sudo apt-get install ax25-apps ax25-tools libax25 libax25-dev
This will install the needed software to bring your 1990er hardware into the present time of DAPNET. It is assumed the KISS speed on the RS232 line is 19200 Baud. If not, change it either in the PR430 or write the correct value in the following file.
Edit the file /etc/ax25/axports to contain the following content:
# /etc/ax25/axports
#
# The format of this file is:
#
# name callsign speed paclen window description
#
ax0     DB0ABC-12       19200   255     7       PR430
Try to connect to your PR430 or RPC
Try to assign the USB tty to a ax.25 kernel interface
sudo kissattach /dev/ttyUSB0 ax0
If you type now
ifconfig</config> you should see a network device with name **ax0**.

Try to connect via KISS and AX.25 to your PR430 or RPC.
<code>axcall -s db0abc ax0 db0abc-7
You should see the command line interface of the POCSAG software running on your PR430 or RPC. If not done already, now it's the time to do (and store(!)) some settings on the PR430.
- Set the master callsign to db0abc-12
- Disable any master password
- Adjust whatever HF-Parameters are needed (TX-Delay,… we have never touched an PR430 or RPC, so help yourself)
- Save your settings
If you connect with the master callsign db0abc-12 to your PR430 or RPC, it should respond with the POCSAG-TX greeting line instead of the command line interface
axcall -s db0abc-12 ax0 db0abc-7
If that's the case, this part is done. Congratulations.
Installing the xinetd
Next thing to take care of is the xinetd program to transfer a TCP connection datastream to the ax0 AX.25 kernel device.
sudo apt-get install xinetd
This software listens on specified TCP ports and invokes third party programs if a connection is coming in. We uses this to map the TCP connection vom DAPNET-Proxy to the ax0 kernel device.
The config files are in /etc/xinetd.d/. Create a new file in this directory:
sudo nano /etc/xinetd.d/pocsag_db0abc
# description: AX.25 Interface to DB0ABC-7
service rpc_db0abc
{
        disable         = no
        type            = UNLISTED
        port            = 19973
        id              = funkruf
        socket_type     = stream
        protocol        = tcp
        user            = root
        wait            = no
        server          = /usr/bin/axcall
        server_args     = -r -S -R -s db0abc-12 -r ax0 db0abc-7
}
Restart the xinetd daemon with
sudo sytemctl restart xinetd.service
Try if the connection and conversion is working:
telnet localhost 19973
If telnet is not installed on your OS, install it with
sudo apt-get install telnet
You should see the same output as you had with axcall when you connected with the source callsign of the master, so db0abc-12. To end the connection type CTRL + + and quit.
Installing the DAPNET-Proxy
Congratulations, you have done good so far. Now let's install the DAPNETProxy to interface between the DAPNET-Node and your PR430 on the protocol level.
First install java 1.8
sudo apt-get install oracle-java8-jdk
Check if the default java command is using the right version by verifying the 1.8 with
java -version
If it shows OpenJDK Runtime Environment, you have to remove the openjdk Java installation.
sudo apt-get remove --purge openjdk-7-jre-headless openjdk-7-jre
Also install maven to compile the Java source code:
sudo apt-get install maven
Now create a directory in /opt to download the code. Install git first if needed:
sudo apt-get install git
cd /opt
sudo git clone https://github.com/rwth-afu/raspager-proxy.git
chown -R pi /opt/raspager-proxy
cd /opt/raspager-proxy
Don't worry that the software is called raspager-proxy and not ax25-proxy. This is due to historical reasons and in fact a good name would be dapnet-proxy, which it is already in parts of the program.
Make a config directory with
mkdir /opt/raspager-proxy/config
Copy the example config file to that directory. Change the callsign according to your needs.
cp /opt/raspager-proxy/example.properties
/opt/raspager-proxy/config/db0abc.properties
Edit the file with
nano /opt/raspager-proxy/config/db0abc.properties
There are self explaining comments in the file. For the setup described here, the file should look like:
# Name of this connection profile
profileName = db0abc
# Time to sleep in milliseconds before attempting a reconnect. Set to 0 to disable automatic reconnecting.
reconnectSleepTime = 5000
# Frontend (DAPNET) authentication name
frontend.name = db0abc
# Frontend authentication key
frontend.key = WhateverIsSetInTheDAPNETForYourTransmitterAsTransmitterKey
# Frontend host name or IP address, you can use dapnet.db0sda.ampr.org from HAMNET or dapnet.afu.rwth-aachen.de from Internet
frontend.host = dapnet.db0sda.ampr.org
# Frontend port number, don't change
frontend.port = 43434
# Backend host name or IP address, here we use the XINET.D setup done before
backend.host = localhost
# Backend port number, as set in the /etc/xinet.d/db0abc-File
backend.port = 19973
# Timeout in milliseconds for keep alive requests. Set to 0 to disable.
backend.timeout = 30000
![]()
![]() Your transmitter has to be registerd with the same values as in
Your transmitter has to be registerd with the same values as in frontend.name and frontend.key in the DAPNET. Open a ticket if this is not already done.
Build the software:
cd /opt/raspager-proxy
mvn package
Try to run the proxy software by
cd /opt/raspager-proxy/config
java -Ddapnet.proxy.rest.port=8080 -jar ../target/dapnet-proxy-1.1.1-SNAPSHOT-jar-with-dependencies.jar db0abc.properties
![]()
![]() Change
Change db0abc and dapnet-proxy-1.1.1-SNAPSHOT-jar-with-dependencies.jar according to your transmitter callsign and according to the version that is up-to-date. You can look for the correct file with ls -l /opt/raspager-proxy/target/.
You should see several messages of the proxy logging into both the DAPNET-Core and the AX.25 device.
In a second SSH session or terminal, you can watch the AX.25 traffic on ax0 with
axlisten -axp ax0
If you are familiar with AX.25, this will give a good hints for debugging.
If everything works, the transmitter should show online status on the DAPNET-Webinterface. You should exit the running programm with CTRL + C.
Automated start of the DAPNET-Proxy
As you want to have the proxy-program started at every reboot, you can setup a systemd service for it.
As root, make a new file in /etc/systemd/system/
sudo nano /etc/systemd/system/dapnet-proxy.service
You can have a look in the example file in the GitHub repository. The content of that file must be:
[Unit]
Description=DAPNET Proxy for AX.25
Requires=xinetd.service

[Service]
Type=simple
ExecStopPost=-/usr/bin/killall kissattach
WorkingDirectory=/opt/raspager-proxy/config
ExecStart=/bin/bash -c "/usr/sbin/kissattach /dev/ttyUSB0 ax0 && /usr/bin/java -Ddapnet.proxy.rest.port=8080 -jar ../target/dapnet-proxy-1.1.1-SNAPSHOT-jar-with-dependencies.jar db2gm.properties"
StandardOutput=null
StandardError=null

[Install]
WantedBy=multi-user.target
Reload the systemd envorinment with
sudo systemctl daemon-reload
and try to start the service:
sudo systemctl start dapnet-proxy.service
Check the status with
sudo systemctl status dapnet-proxy.service
If everything is ok, you can enable the autostart at boot with
sudo systemctl enable dapnet-proxy.service
![]()
![]() The automated start and stop of kissattach in the
The automated start and stop of kissattach in the dapnet-proxy.service file is not tested. Feedback wanted.


